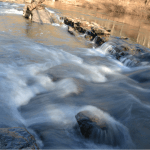
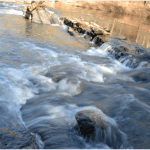
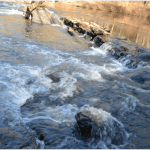
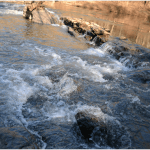
Some simple notes on how to seamlessly blend images in GIMP using gradient based layer masks.
INPUT IMAGES
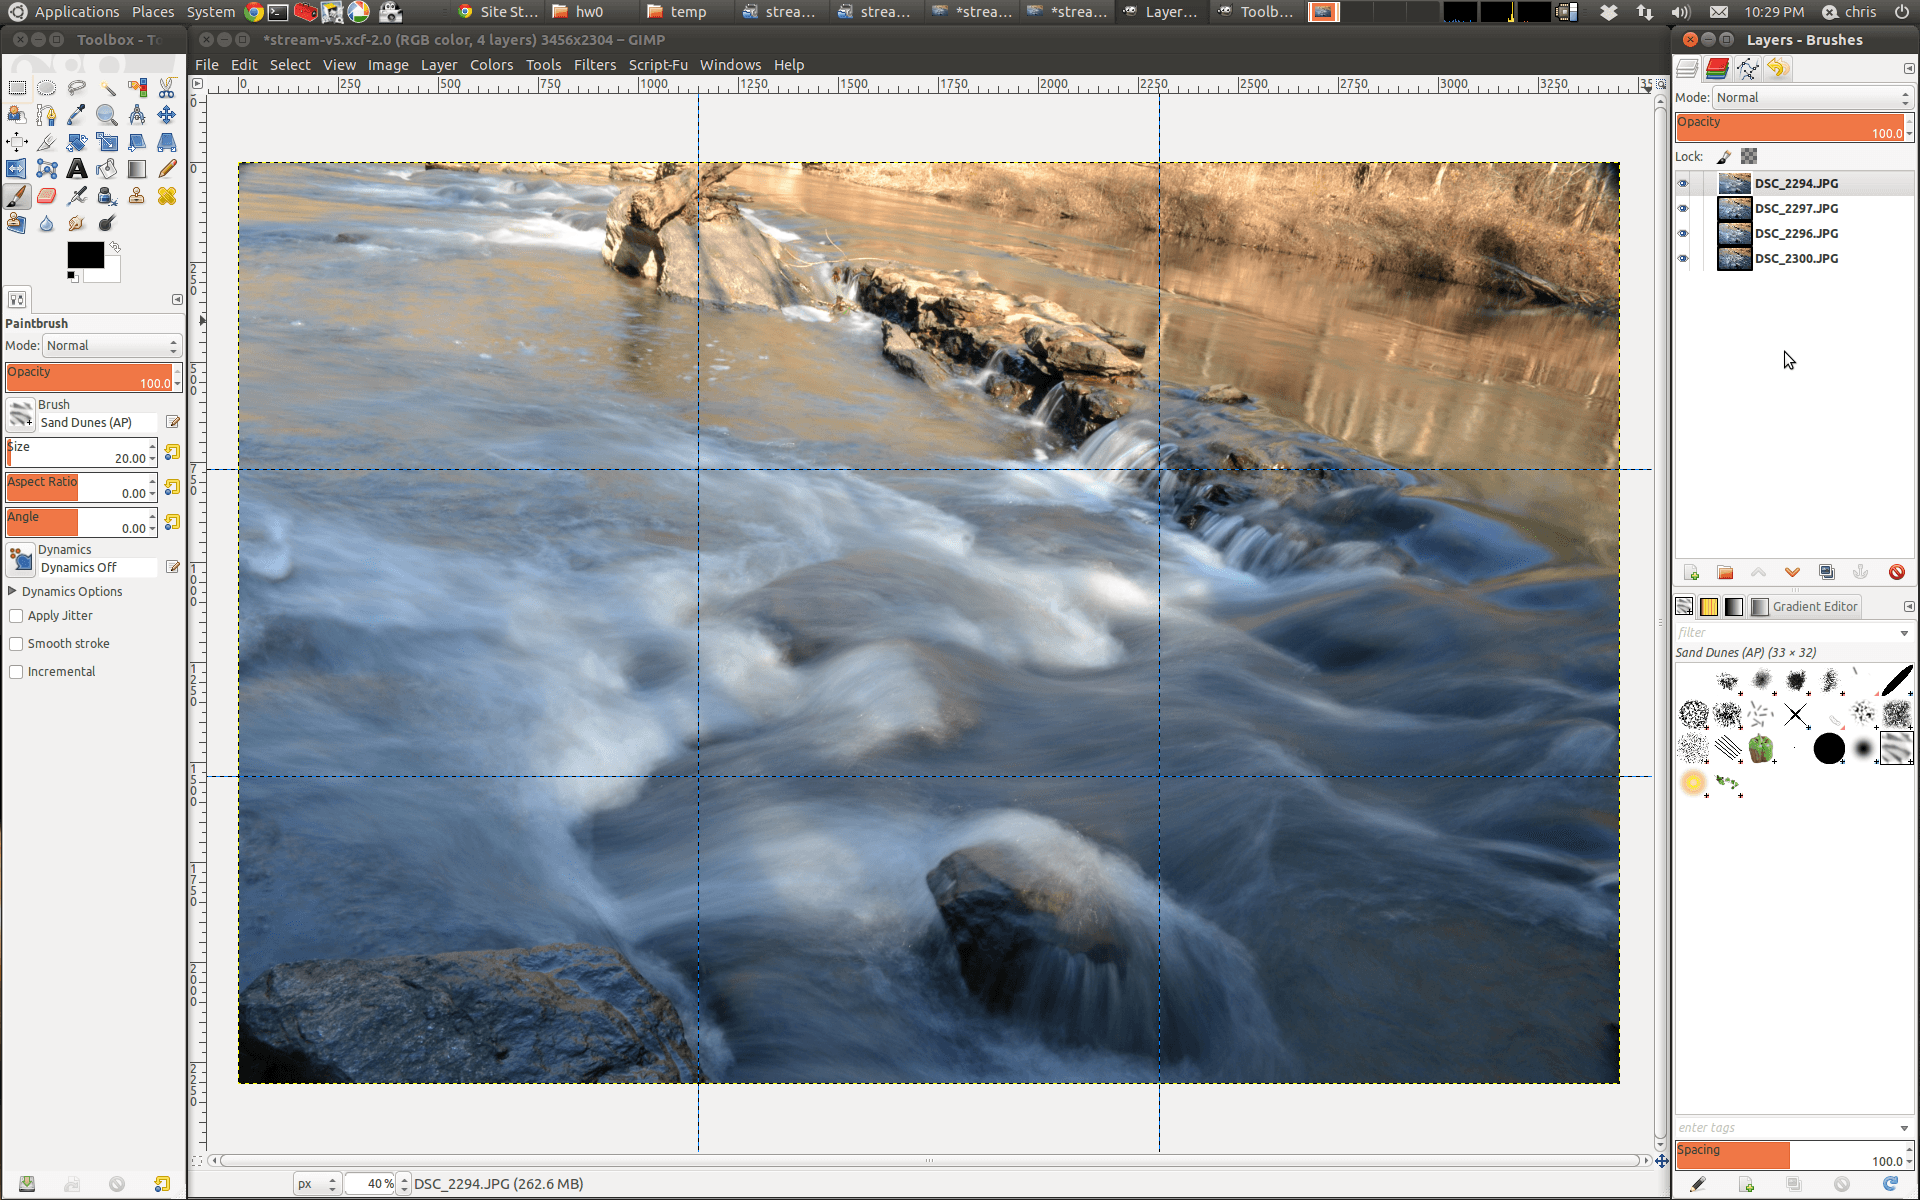
4 images with only different shutter speeds:
PROCESS
Open all images as separate layers in a new GIMP canvas:
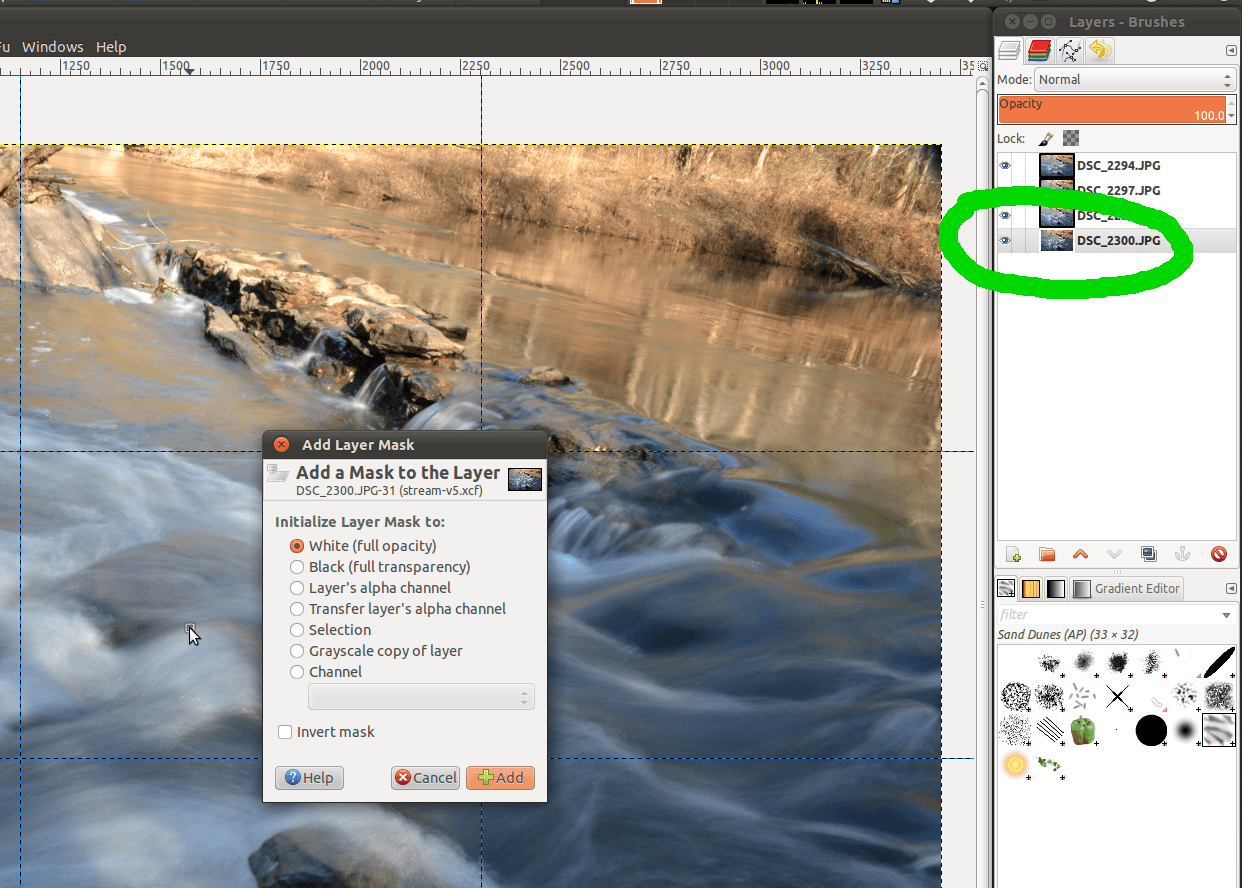
Right click a layer > “Add layer mask” > choose default “White full opacity” > Add:
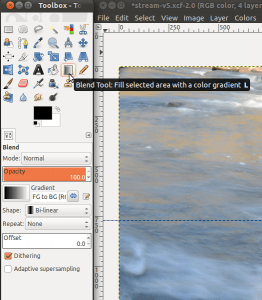
Now select the Blend Tool:
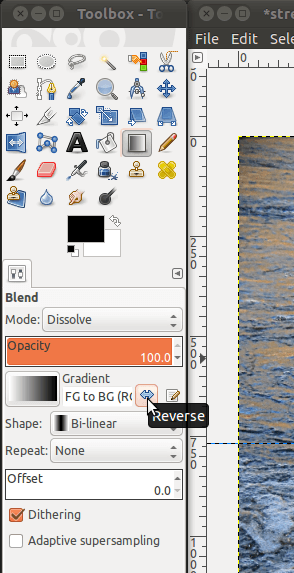
Click the arrows to “Reverse” the gradient; choose “Bi-linear” shape mode:
In this step I’ll focus on the bottom layer only…
(so hide the other layers, and select the bottom layer to be active).
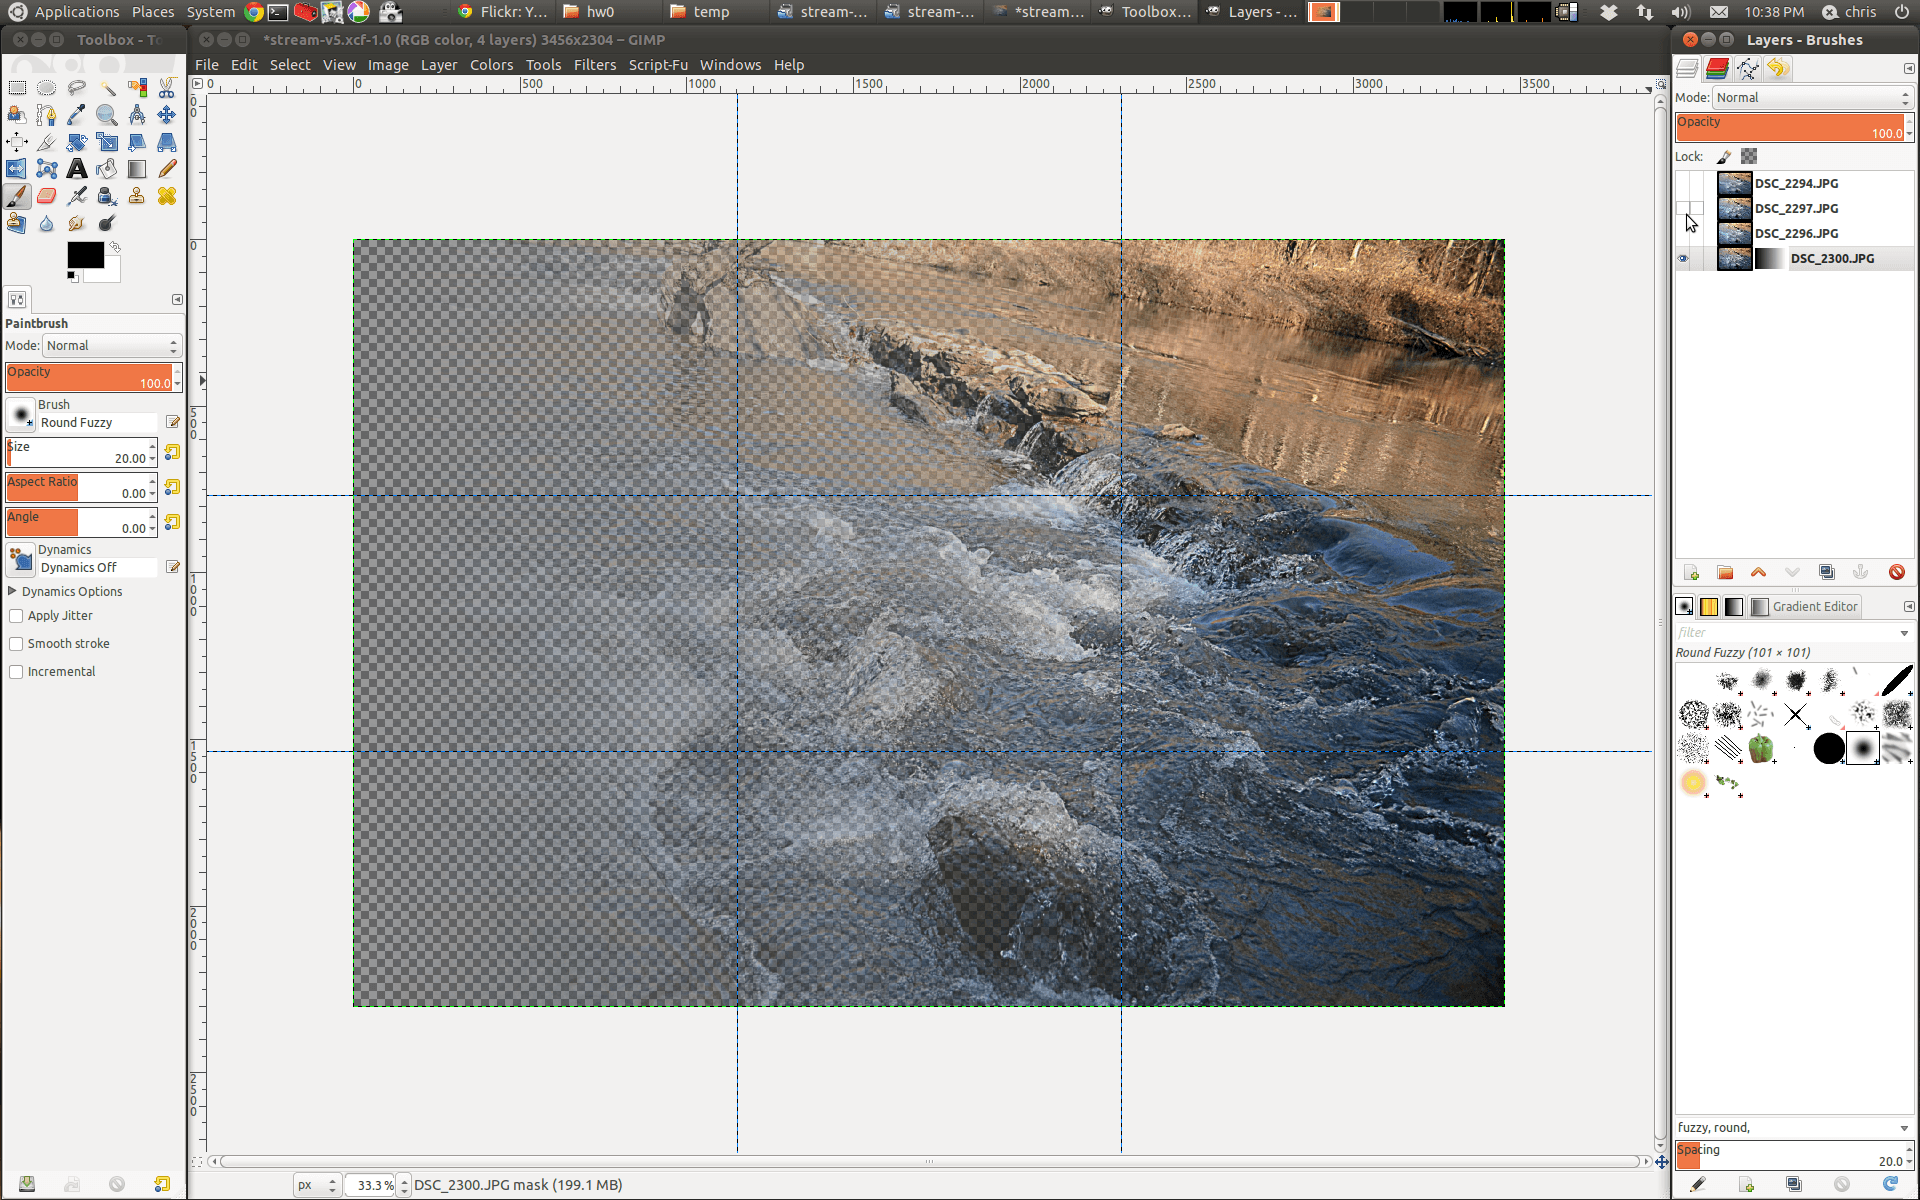
Make the gradient mask:
- With the Blend tool selected and configured as above, Click on the right side of the image, and drag the mouse left.
- Releasing the mouse after dragging it creates a gradient proportional to the length of the drag.
Below should be the resulting gradient layer mask effect:
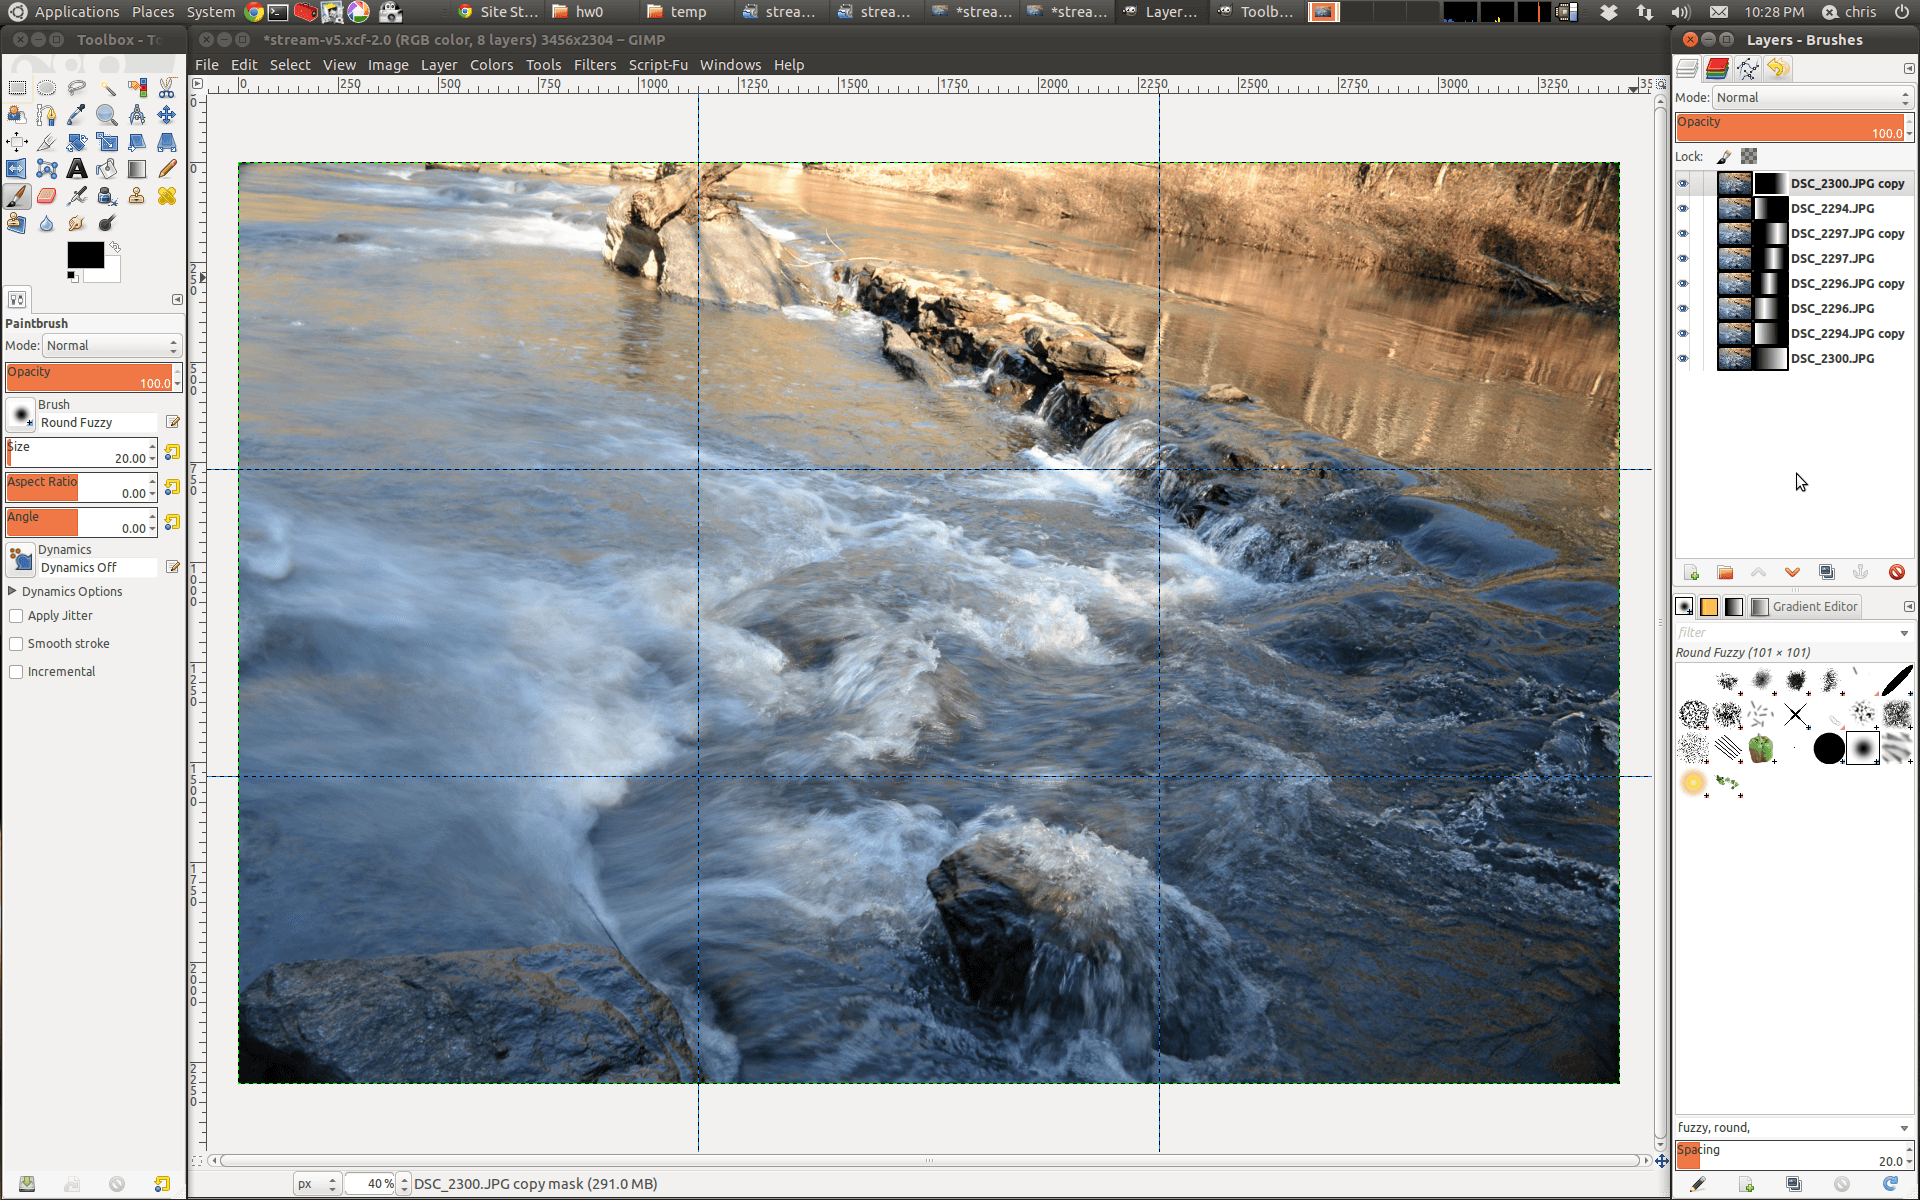
After repeating the above steps for each layer, and varying the gradients appropriately:
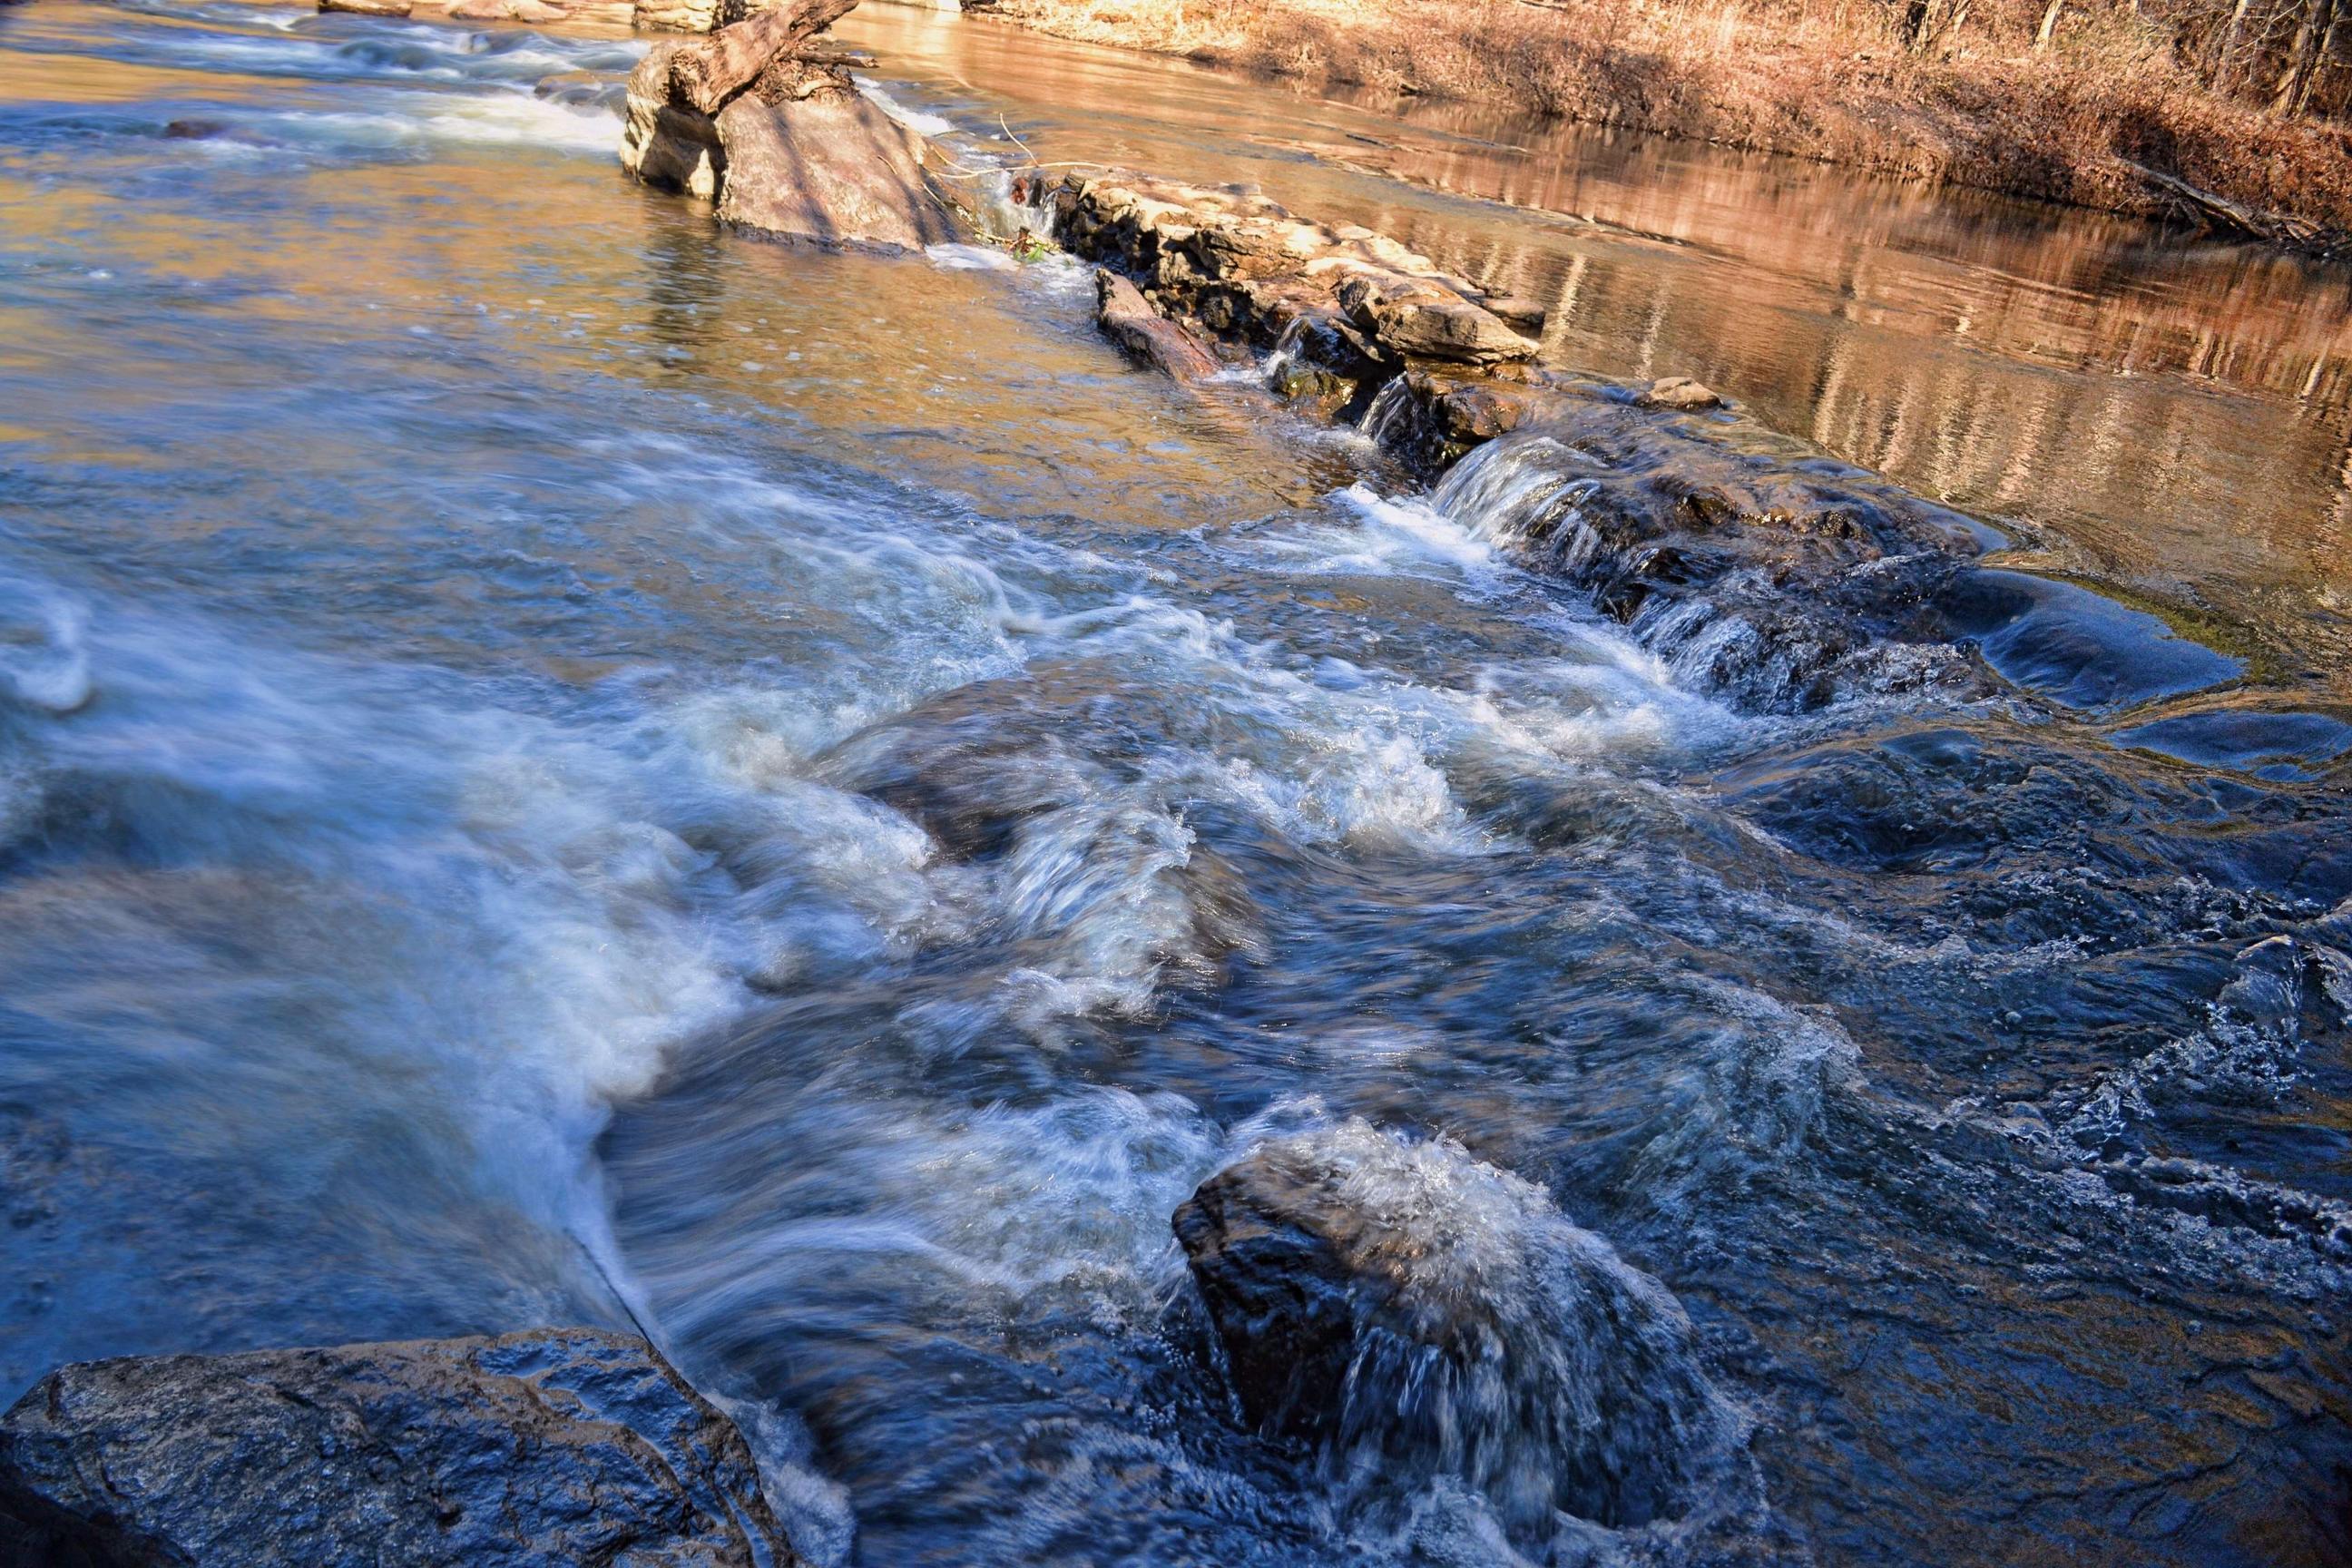
RESULT
The final image (after using Topaz Adjust, of course!)…
BACKGROUND
This tutorial resulted from an “Epsilon Photography” assignment in my Computational Photography class. The assignment was to take 4 pictures of where all pictures have something in common, but with one variation of the camera parameters – (in this case, only shutter speed was varied).
GOAL
I wanted to create a interesting, surreal image of water motion that looks fairly normal, but upon close inspection, doesn’t seem quite natural (the water is both stopped and moving fast at the same time). The final result is close enough to the effect I wanted, though I could have spent more time on taking more pictures and editing.
