April 2011
Abstract
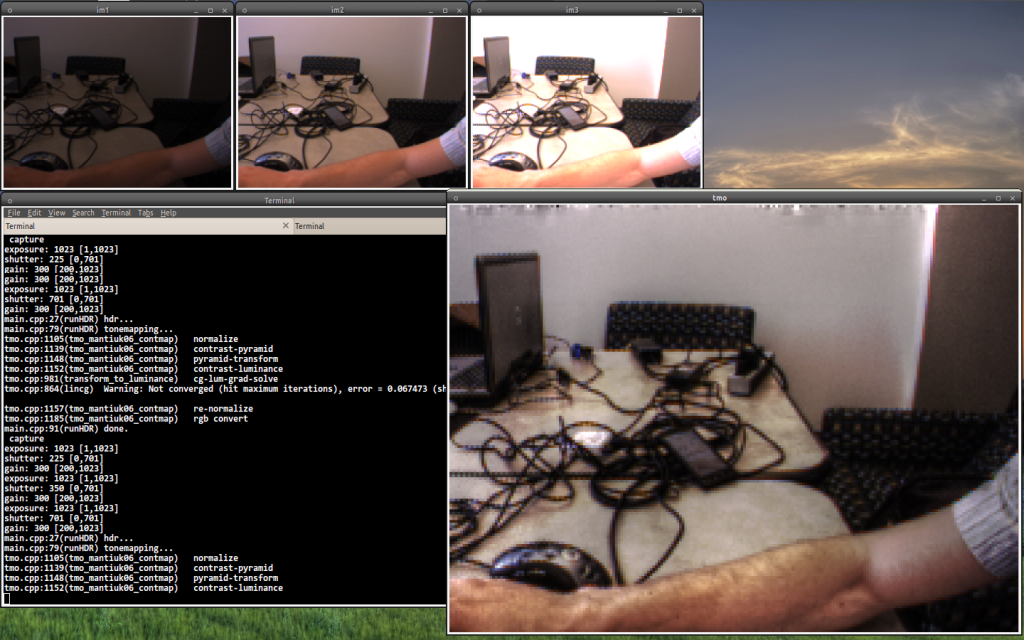
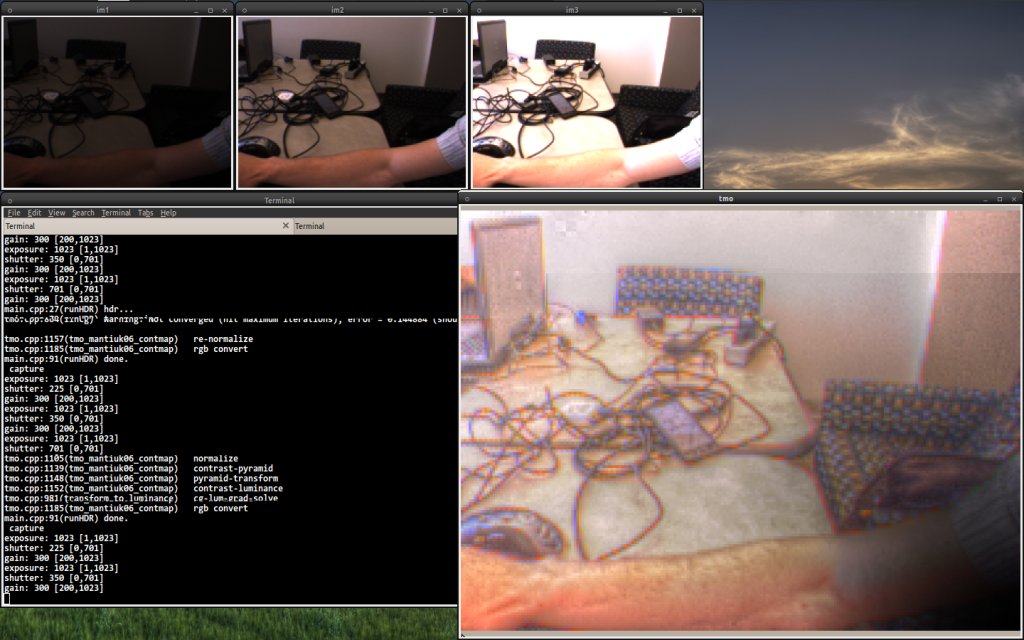
As a final project for my Computational Photography class at Georgia Tech, I created an application that uses a single video camera to create tonemapped HDR images in real time. This project’s inspiration comes from Soviet Montage Production’s DSLR HDR video.
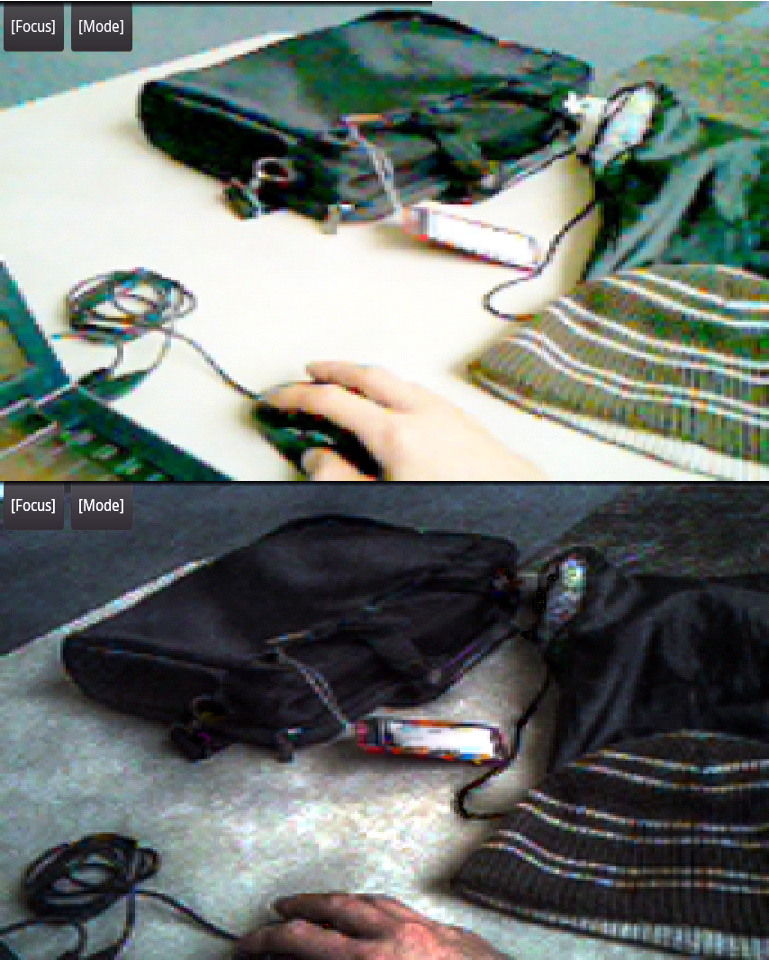
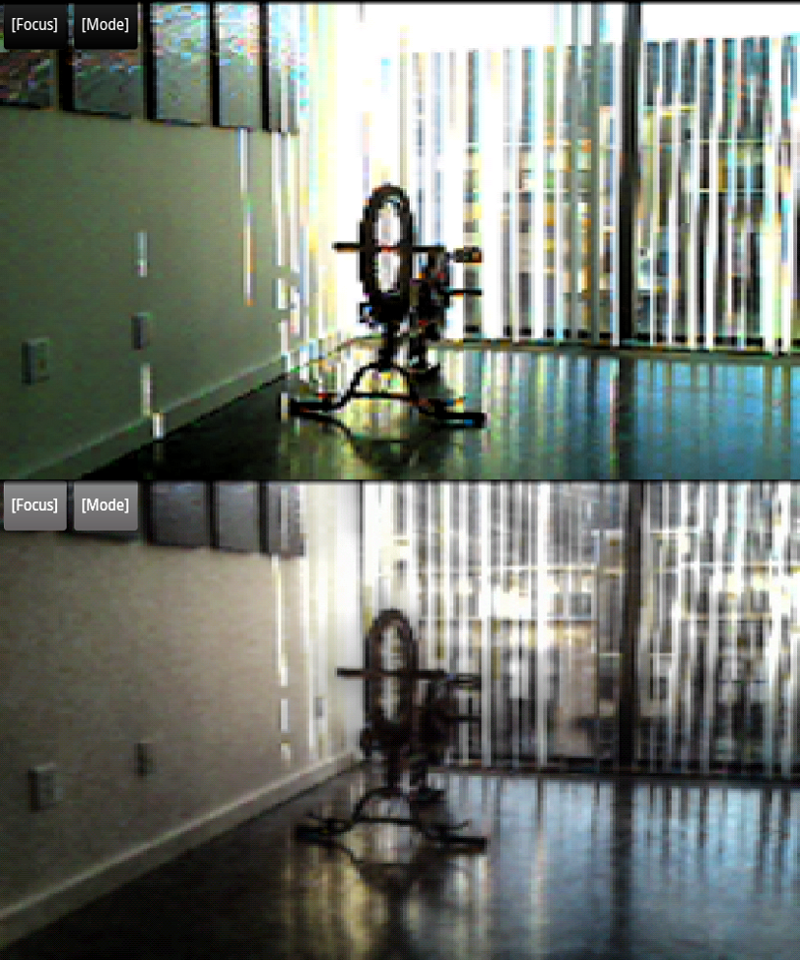
The app runs on Linux PCs (using USB or Firewire cameras) and Android phones (using the built-in camera). Custom OpenCV code manages the different exposure images, and generates a basic HDR image. The HDR image is fed to a tonemapping algorithm by Mantiuk et al, creating either a ‘ghostly’ or ‘painterly’ effect.
An example of the Mantiuk tonemapping effect made with a DSLR camera and Luminance-HDR can be found here.
Some example project result images and videos can be seen below.
Videos
Sample Images


Implementation Details
Three images are captured from a single camera, each with varying exposures (low, medium, high). These are then added into a single HDR image by adding the logarithm of each image. The HDR image is fed to a tonemapping algorithm by Mantiuk et al, taken from the Luminance HDR project, and modified for this application.
Mantuik et al’s tonemapping operator can work in different two modes: contrast mapping, or contrast equalization. Both methods are fairly computationally intensive, requiring severe down-scaling of the raw camera images to keep processing time reasonably fast.
On Linux, USB cameras are supported (and captured) by OpenCV, while Firewire cameras are handled by a custom libdc1394 wrapper. Most USB cameras only support changing the brightness (not exposure), which generates a faux-HDR image that then gets tonemapped. An AVT Guppy machine vision firewire camera was also used for testing, because it allows changing the shutter speed and adjusting gain. This camera produced much better results than any webcam tested.
On Android, the built-in camera was controlled via Android camera APIs in Java. Unfortunately, there is a massive delay between setting the exposure, and when the camera actually gets to that exposure. After each exposure change, an arbitrary number of dummy frames are discarded before grabbing an image, in attempt to give the camera time to adjust. This waiting for the camera’s exposure change takes up about as much time as the actual processing, exaggerating an already slow image processing loop.
Application Details
Pros / Features:
- Single camera, live High Dynamic Range Image viewing (real time hdr)
- Mantuik tone mapping operators
- Contrast Mapping (faster, exaggerates shadows, darker)
- Contrast Equalization (slower, exaggerates colors, brighter)
- Cross platform (Android / Linux / with a little work, Windows)
- Various camera support (USB / Firewire / Android)
- No image alignment pre-processing needed (assuming little camera movement)
- OpenCV + OpenMP
Cons / TODOs:
- Very low resolution
- Low frame rate (exposure change time limits frame rate)
- Android’s camera exposure change is terribly slow
- No fancy GUI
- Manual adjustment of camera settings required (trial-and-error based)
- Results are extremely dependent on quality/extent of the camera’s exposure changes (quality = actually getting to the desired +/-2 EV)
- Port code to GPU
- Use a faster tone-mapping-operator
Resources
All the code for this project can be found in my Google Code repository:
ViewerCV (Android) | rttmo (Linux)
Download ViewerCV on Android Market.
Related Android computer vision post.
Class presentation slides.
hello mcclanahoochie,
At first thanks for sharing those useful source code, I’am begin to learning about HDR. It is very useful for me…
I have some question about it, I have run the hdr test app on my android handset. I find there are some different between on Youtube and on my android device. On my device, there exist some red noise (Contrast Mapping) or blue noise(Contrast Equalization).It’s different from the video clip which in Youtube.
cryindance:
Thanks for the feedback, and I’m glad to share the source. The video shows slightly older code running on a desktop using a machine vision camera. As you may know, HDR algorithms are highly dependent on exposure time and camera settings. It is unlikely that any phone camera would match the one used in the video. Also, the tonemapping operator code for the desktop and phone app have diverged slightly since I made the video. The noise you see is an artifact of two things: (1)- the algorithm not converging to a solution (I’ve put an artificial limit to help speed things up, at the cost of quality), and (2)- the phone app is more sensitive to lighting conditions, because I have very little control over what the base exposure should be via the Android API, thus it is tuned for “average” indoor conditions; though, try pressing the ‘focus’ button a few times and see if that helps reset the base exposure.
Good luck!
~Chris
Hi, congratulation for your project. I tried to install you opencv application using the last android sdk 2.4.3.2 available on opencv.org.
Nevertheless I got some problems during compilation.
I downloaded your files and I have imported all the folders inside eclipse using Project–>import existing project etc.
Could you plese explain step by step how to install your app in eclipse and which libraries I have to download?
Thanks in advance
Best regards
Marco:
Thanks for your interest in my project!
ViewerCV is based on the “old” android-opencv, Not the newer android opencv included with the latest OpenCV SDK. Unfortunately, I never got around to updating ViewerCV to use the newer version.
Everything you need (including the “old” android-opencv) should be included in the git repo… Have you seen the README?
Good luck!
~Chris
Hi,
Thank you for sharing your project code for the HDR topic.
I installed opencv3.0 from git and when I tried to compile and build the rttmo-usb project using the command line
g++ -o test main.cpp -fopenmp `pkg-config opencv –cflags –libs`
I get these errors:
In file included from /usr/local/include/opencv/highgui.h:46:0,
from tmo.h:10,
from main.cpp:22:
/usr/local/include/opencv2/highgui/highgui_c.h:116:5: error: expected identifier before numeric constant
/usr/local/include/opencv2/highgui/highgui_c.h:116:5: error: expected ‘}’ before numeric constant
/usr/local/include/opencv2/highgui/highgui_c.h:116:5: error: expected unqualified-id before numeric constant
/usr/local/include/opencv2/highgui/highgui_c.h:619:1: error: expected declaration before ‘}’ token
does any one have an idea how to fix this problem,
Thanks.
HI,
u said Cross platform (Android / Linux / with a little work, Windows)
What is needed to make the project owork under windows ??
Thanks.
maalej:
I’m not sure exactly all the requirements for Windows, but the main issues that come to mind are: the Makefile (probably just import into Visual Studio), and the driver for whatever camera you decide to use (usb/firewire/etc.). OpenCV should take care of the rest.
Thanks for the interest, and please update here on any progress with Windows, for other people to benefit.
Thanks,
~Chris
Hi Chris,
I tried to make it work under windows and visual c++ express edition, but I faced several problems:
1-OpenMP library for parallel coding isn’t supported in express edition.
2-some inline functions (max(a, b), min(a,b)) are not recognized.
3-some changes must be done because for the new version (OpenCV.3.0):
* (#include #include ) become
(#include
#include
#include )
*(IplImage* img1 = cvLoadImage(argv[1], 1);) becomes
( Mat img1 = imread(argv[1],1);) and so for img2 and img3
*(cvWaitKey) =>( waitKey)
cvMoveWindow => moveWindow
* capture.set(CV_CAP_PROP_FRAME_WIDTH, w);
become
capture.set(CAP_PROP_FRAME_WIDTH, w);
and the same for h.
It was easy to change and adapt code with respect to opencv 3.0 release especially when using IDE like visual express c++.
But finally I went back to Linux after making all these changes to test and run the code (usb version). Which correspond to the faux- HDR since it deals with the brightness change of images and not the exposures. I tried to test it with the cv_exposure property of opencv 3.0, but it doesn’t work. Unfortunately, there is no library equivalent to VideoInput for Linux, and that is easy to use.
Now I am trying to further understand the code and also the concept of HDR. And I have some questions if don’t mind:
1- what makes u say that HDR image is the log(img1+img2+img3)/3.
what is the paper or reference that confirms this equation explicitly?
2- calculate gradients for pyramid (pyramid_calculate_gradient),
I am not sure to understand the concept? Is there a reference you can advise me to read?
3- W_table[] and R_table[], are these lookup tables? How u set them? do they need to be changed in case we use another tone mapping method?
The same question for all the constants u defined, like:
m_contrast = 1;
m_saturation = 1;
m_detail = 1;
float contrast = (m_contrast) ? 0.25 : -0.25 ;
float saturation = (m_saturation) ? 1.25 : 0.85 ;
float detail = (m_detail) ? 2.0 : 1.0 ;
4- Does reading the pfstools source code helps in understanding better the gradient pyramid and what comes with it as function (example: sampling, down sampling, divergence calculation, scale computation, pyramid transformation to R and to G).
Thanks.